Fusionista
10 Steps for a DIY Manicure
Whether to save time or money, a DIY at-home manicure can be a fun practice in self-care.
Step 1. Apply Nail Polish Remover to start with a clean slate. We recommend an acetone-free nail polish remover which easily removes even the darkest shades of nail polish without drying the nail.
Step 2. Cleanse. Clean your hands and moisturize. If having a mani day with friends, take turns massaging each other's arms.
Step 3. Clip. Whether you have short or long nails, it's always great to start by clipping your nails. For short nails, clip to just below the top of your finger keeping them short, but still looking feminine.
Step 4. File. To achieve the desired shape, use a nail file to shape your nails. Tip: mirror the curve at the base of your nails.
Step 5. Buff. Using a buffer will smooth the surface of your nail and even out ridges.
Step 6. Push back the cuticles and apply Cuticle Treatment. Let it sit for one minute, and push back the cuticle. Softening cuticles will eliminate rough spots and dead skin around the nail keeping your manicure looking fresh for longer.
Step 7. Apply Base Coat. This lays the foundation for polish application and it protects the nail from being stained by the polish. Wait 3-5 minutes for it to dry.
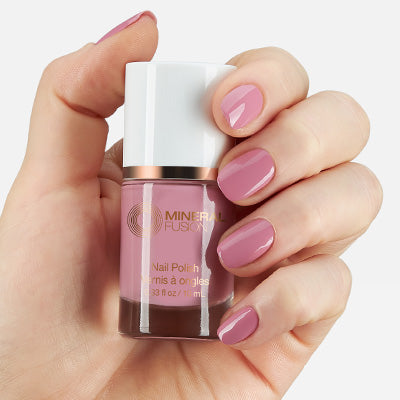
Step 8. Apply your first coat of Nail Polish. Make sure you only coat one side of the brush to avoid drips. Start in the middle of the nail and work down to the cuticle, then up to the nail tip, then fan the brush to the right and left sides of the nail until it's evenly coated. Our custom, extra thick brush makes this process a breeze!
Step 9. Apply your second coat of color. Wait 3-5 minutes.
Step 10. Apply Top Coat. Seal in the color and you're done! Choose from our Top Coat for a classic look, Matte Top Coat for a fun finish, or Gel Top Coat for a plump, ultra-shiny manicure. Wait 3-5 minutes.
Enjoy your long-lasting, premium manicure!